 Skip to content

Last Updated: November 8, 2026
Quick Summary
A walk-in tub installation usually starts with removing the old tub or shower, inspecting the studs and floor, then positioning and leveling the new tub. Plumbing and electrical connections follow, and the crew should test the tub before leaving. Measuring doorways, checking the floor, and confirming water heater capacity before delivery prevents most costly surprises.
- Measure every doorway and hallway turn, not just the tub footprint, before ordering.
- Confirm the subfloor can carry a filled tub before installation begins.
- Ask whether your water heater can fill the tub at a comfortable temperature.
- Hire a licensed plumber for water connections and a licensed electrician for electrical work.
- Test the tub for leaks, drainage and fixture operation before the crew leaves.
Table of Contents
- Before Installation Day: Checking Your Bathroom and Your Options
- Walk-In Tub Installation Process Step by Step
- Walk-In Tub Installation Process With Shower: Plumbing, Electrical and Fixtures
- Walk-In Tub Installation Cost and Who Pays for What
- Walk-In Tub Installation Requirements, Permits and Inspections
- Booking Your Walk-In Tub Installation: Your Next Step
- Frequently Asked Questions
Before Installation Day: Checking Your Bathroom and Your Options
Here is a pattern worth watching for. The tub gets ordered, the crew gets scheduled, and then somebody discovers the hallway turn is too tight or the water heater cannot fill the thing before it goes cold. Now you are paying for a return trip and a delay you did not plan for. Measure first. Then decide. That order saves money and grief.
Measuring the Space, Doorways and Access Route
Start with the bathroom itself. Measure the floor space where the tub will sit and write down length, width and height. Then measure every doorway the tub must pass through: the bathroom door, hallway turns, stair landings and any tight corner.
A common mistake is measuring only the tub’s footprint. Remember that the door must open fully and the frame must clear the tub shell.
Watch out: a doorway that clears by half an inch on paper can fail in real life once trim, thresholds and door swings are counted.
Checking the Floor and Structural Support
A filled walk-in tub is far heavier than an empty one. Water, the occupant and the tub itself add up to a substantial load, so the floor has to carry it. Have a qualified contractor check the subfloor and joists under the tub area.
Watch out: if the floor is weak, a tub installed on top of it can crack the floor, leak into the room below or shift over time. Fixing the floor first costs less than repairing the damage later.
The Pre-Delivery Checklist Most Buyers Skip
This is the part I wish every buyer taped to the refrigerator. Before you sign, walk through these items with your installer and get the answers in writing.
- Water-heater capacity. A deep walk-in tub holds a lot of water. Ask whether your current water heater can fill it at a comfortable temperature before the supply runs cool. If not, you may be looking at a larger heater or a different fill strategy, and that is a cost to know about up front.
- Electrical access. If the model has a heater, blower or massage system, find out whether a dedicated circuit is needed and whether your panel has room. An electrician should confirm this, not a salesperson.
- Floor condition. Confirm the subfloor is sound and note any soft spots, prior leaks or uneven areas.
- Doorway and turn clearance. Measure twice and have the installer confirm the numbers against the actual model.
- Drain location. Check that the existing drain lines up with the new tub outlet, or budget for the change.
- Temporary bathing plan. If this is your only bathing fixture, ask how many days you will be without it and plan accordingly.
That last item matters more than people expect. A tub replacement can leave you without a usable bath for a stretch, and for someone with mobility limits that is not a small inconvenience. Ask the question before the crew arrives, not after.
Your Options Before You Commit
A walk-in tub is not the right answer for every bathroom or every body. A properly equipped walk-in tub can support seated showering and full-body soaking, which a shower alone cannot do. But an accessible shower, a roll-in shower or a transition tub may fit your space and your needs better. If mobility is changing, an occupational-therapy or other qualified assessment can tell you more than a brochure can. Get the measurements, get the checklist answers, and then decide with your eyes open.
Walk-In Tub Installation Process Step by Step
Once the space is checked, the actual work follows a clear sequence. The exact steps vary by model and by house, but the general pattern stays the same across most jobs.
Removing the Existing Tub or Shower
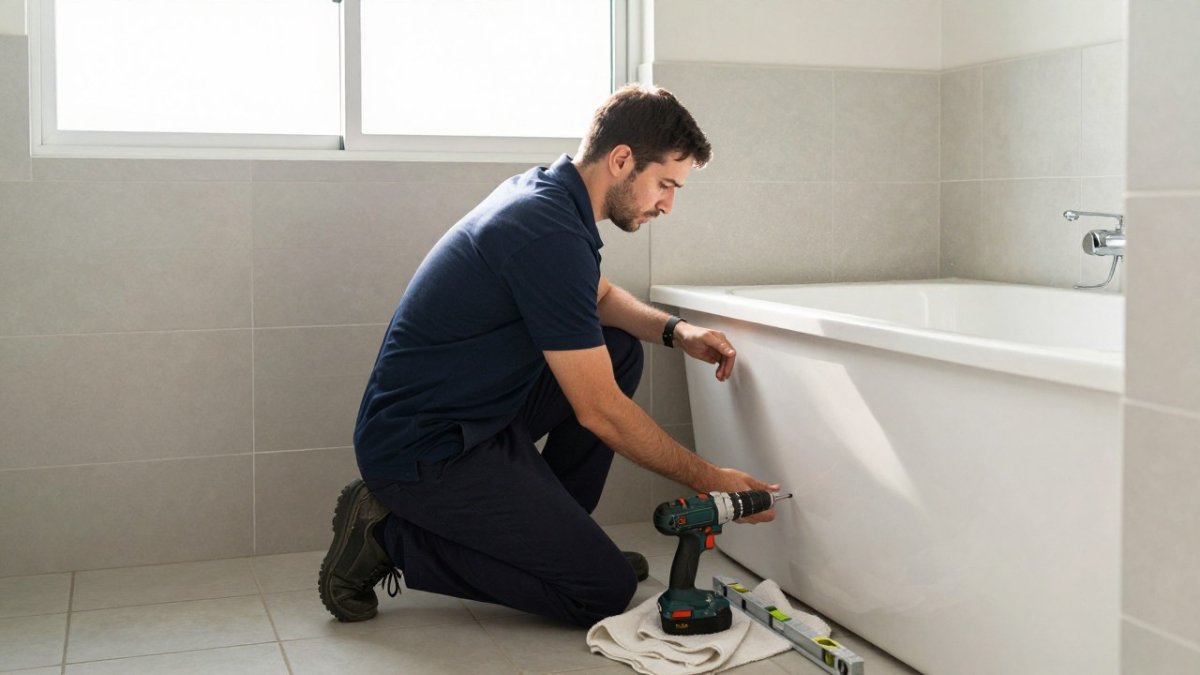
Most installs start by taking out the old tub or shower. The crew disconnects the plumbing, removes the old fixture and clears the debris. Then they inspect the wall studs and floor for water damage or rot. Any damage found at this stage should be repaired before the new tub goes in.
Expect some dust and noise. Ask your installer how they plan to protect the rest of the house and where they will put the debris.
Moving the Tub In, Positioning and Leveling
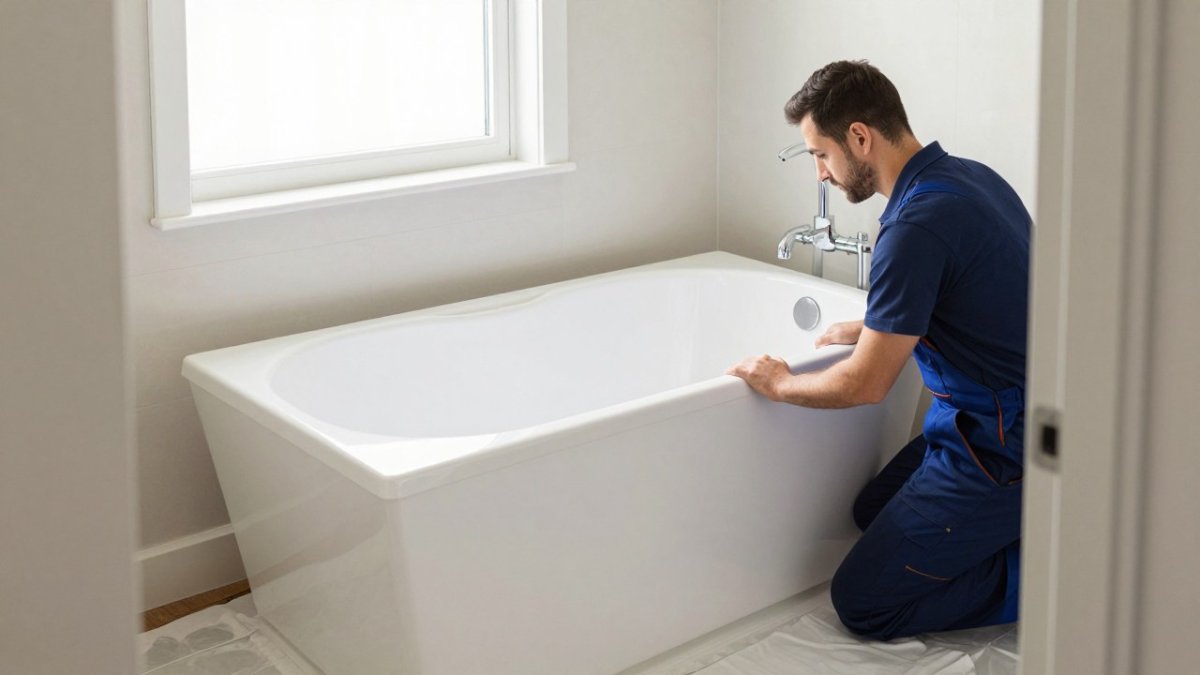
Walk-in tubs are delivered in pieces or as one large unit, depending on the model and the access route. Once inside, the crew positions the tub on the prepared floor. Leveling matters a lot here.
After positioning, the installer secures the tub, checks the level again and seals the edges. Take your time at this step. A few extra minutes of adjusting now prevents years of leaks.
The installation generally follows a clear sequence, from removing the old fixture through positioning and leveling the new tub.
| Step | What happens | Note |
|---|---|---|
| Remove existing tub or shower | Disconnect plumbing, remove old fixture, clear debris | Repair any water damage before installing |
| Inspect studs and floor | Check for water damage or rot | Fix problems before the new tub goes in |
| Move tub in | Deliver in pieces or as one unit | Depends on model and access route |
| Position and level | Set tub on prepared floor and level it | Crooked tubs can leak at the door seal and drain poorly |
| Secure and seal | Fasten tub, recheck level, seal edges | A few extra minutes now prevents leaks later |
Walk-In Tub Installation Process With Shower: Plumbing, Electrical and Fixtures
This is the stage where a walk-in tub stops being a piece of furniture and becomes part of your house. It is also where the surprises live. Plumbing and electrical work are the most technical part of the job, and the details vary by model and by local code. Hire a licensed plumber for the water connections and a licensed electrician for any electrical work. Do not let a general crew talk you out of that.
Plumbing Connections and Fill Time
The tub needs hot and cold water supply lines and a drain connection.
After connections are made, the crew should run the tub, test for leaks at every joint and confirm the drain empties completely. Ask them to show you the fill and drain in real time.
Watch out: a drain that was fine for the old tub may not line up with the new outlet, and that change can add work and cost you did not budget for.
Electrical Requirements and GFCI Protection
Many walk-in tubs include a handheld shower, and some add a built-in showerhead. Models with a heater, blower or massage system usually need electrical work, and that work often calls for a dedicated circuit and GFCI protection. Requirements vary by model and local code, so have the electrician confirm what your unit needs and whether your panel can support it.
Ask these questions before the work starts:
- Does this model require a dedicated circuit?
- Is GFCI protection required for this installation?
- Does my electrical panel have capacity for the added load?
- Who is responsible for the electrical inspection if one is required?
A salesperson can quote a tub. Only a licensed electrician can tell you what your house needs to run it safely.
Fixtures, Accessories and the Door Seal
Fixtures such as the faucet, handheld shower, grab bars and door seal should be installed and tested at this stage. The door seal deserves special attention because it is the part most likely to cause trouble if the tub is not level or the seal is not seated correctly. Ask the installer to walk you through how each one works before they leave.
Commissioning: The Test Checklist Before the Crew Leaves
Do not let the crew pack up until you have seen the tub work. A practical commissioning checklist looks like this:
- Fill the tub and check for leaks at every joint and around the door seal.
- Confirm the drain empties completely and at a reasonable rate.
- Run the shower attachment and check water temperature and pressure.
- Test any heater, blower or massage system and confirm it operates as intended.
- Check that grab bars are secure and positioned where you will actually reach them.
- Confirm the electrical work was done by a licensed electrician and that any required inspection is scheduled.
Watch out: a tub that passes a quick splash test can still leak at the door seal once it is filled to depth and someone is sitting in it.
Maintenance After Installation
Routine care keeps the tub working and helps protect any warranty that applies. Follow the manufacturer’s instructions for cleaning the door seal, the drain and any massage system. Keep the warranty paperwork and the installer’s contact information together, and ask who to call for service if something fails. A tub is a long-term purchase, and the service relationship matters as much as the installation.
Walk-In Tub Installation Cost and Who Pays for What
Installation cost depends on several factors: the tub model, the complexity of removing the old fixture, any structural repairs, plumbing and electrical upgrades, and local labor rates.
Be careful with quotes that look far lower than the rest. Compare what is included: warranty coverage, cleanup, final testing and who handles any permit paperwork. Watch for changing discounts and pressure to sign the same day. A reputable installer will give you time to compare.
Walk-In Tub Installation Requirements, Permits and Inspections
Requirements vary by city and state. Replacing a tub often involves plumbing and electrical work that may require a permit and a final inspection. Your installer should know the local rules and tell you who is responsible for pulling the permit.
Ask these questions before you sign:
- Is a permit required for this installation?
- Who pulls the permit and schedules the inspection?
- Who is responsible if the work fails inspection?
- What warranty covers the installation labor, not just the tub?
For current legal requirements, check your state or local building department. Those offices can confirm what applies to your home.
Booking Your Walk-In Tub Installation: Your Next Step
Before you book, make a short list: your bathroom measurements, your floor and structural concerns, your plumbing and electrical needs, and your questions about cost and warranty. Bring that list to every consultation.
If you want a second look at your space, a free in-home or virtual evaluation can help you spot problems early. You can schedule a consultation with George to talk through your bathroom and options. For a clear, itemized price picture, you can also request your walk-in tub quote and compare it against your own checklist.
Frequently Asked Questions
How hard is it to install a walk-in tub?
A walk-in tub is a real construction project, not a weekend job. Most installs involve removing the existing tub or shower, checking the subfloor, making plumbing and electrical connections, and sealing the unit. Because the work touches the drain, water supply and electrical circuits, it should be done by licensed professionals who can pull the permits your area requires. Ask any installer for proof of licensing and insurance before you agree to anything, and get the scope written down.
How long does walk-in tub installation take?
Installation timelines vary with the bathroom, the model and whether the job includes structural repairs or electrical upgrades. A straightforward swap of a standard tub is often completed in a day or two, while jobs that need subfloor work, new wiring or inspections can run longer. Ask the installer for a written timeline that lists each stage and any inspection dates, so you know what to expect.
Can a walk-in tub be installed with a shower?
Many walk-in tubs include a handheld shower or a shower attachment, and some installers can add a separate shower fixture. Whether that is practical depends on your water supply, drain placement, shower valve and the floor space around the unit. Because showering while seated is a different set of needs than soaking, talk through your daily routine with the installer and confirm the shower setup is included in the written quote.


