Skip to content

Last Updated: October 23, 2026
Quick Summary
Accessible bathroom design for small homes prioritizes clear floor space, safe fixture placement, and grab bar positioning to prevent falls and maintain independence. Start with measuring your bathroom, then make strategic choices about door width, toilet clearance, sink height, and shower options that fit your mobility needs and space constraints.
- You need at least 48 inches of clear floor space in front of the toilet for safe transfer
- A 36-inch door width is the practical minimum for accessibility; pocket or barn doors save usable floor space
- Grab bars must be anchored to wall studs, not drywall, and positioned next to the toilet, in the shower, and near the sink
- Non-slip flooring, improved lighting, and a shower seat are simple modifications that work without full renovation
- Get a professional safety assessment before spending money to identify your actual risks and which changes make the biggest difference
Table of Contents
- Why Accessible Bathroom Design Matters Before You Fall
- Measure Your Space: Clear Floor Space and Turning Radius
- Small Accessible Bathroom Layout: Entry, Fixtures, and Flow
- Roll-In Shower for Small Bathroom: Design and Alternatives
- Bathroom Grab Bar Placement: Positioning and Wall Reinforcement
- Small Bathroom Safety Modifications Without Full Demolition
- Universal Design for Different Mobility Needs
- Call Before You Redesign: Get a Safety Assessment
- Frequently Asked Questions
Why Accessible Bathroom Design Matters Before You Fall
A bathroom accident changed my life.
I started Bentley Baths because I saw how many people were struggling with the same fear. They wanted to stay in their homes, to keep their dignity, to age on their own terms.
Here’s what I learned over 20 years of research in accident prevention: accessible bathroom design for small homes isn’t about luxury. It’s about survival.
This guide walks you through the real decisions you’ll face. Not theory. Not sales talk. The practical choices that separate a bathroom that works from one that fails you when you need it most.
The best time to plan an accessible bathroom is before you need one. If you’re thinking about this now, you’re already ahead of the game.
Measure Your Space: Clear Floor Space and Turning Radius
Before you buy anything or hire anyone, measure your bathroom. Seriously. Most people skip this step and end up with a fixture that doesn’t fit their life.
Clear floor space is the foundation. You need room to move without bumping walls or doors.
Here’s what matters:
- A minimum 30-inch-wide clear path for walking
- At least 48 inches of clear floor space in front of the toilet for transfer
- 60 inches of open space if you use a wheelchair or walker
- Space to open the door without hitting the toilet or sink
Grab a tape measure. Stand in your bathroom and mark the walls. Walk through your normal routine. Can you turn around? Can you reach the sink comfortably?
Most small bathrooms are 5 by 8 feet. That sounds tight because it is. But tight doesn’t mean impossible. It means you have to be smart about what goes where.
Measure twice, buy once. A bathroom that looks fine in a showroom might not work in your actual space. Measure the doorway, the wall space, and the floor area before you commit to anything.
Small Accessible Bathroom Layout: Entry, Fixtures, and Flow
A working small accessible bathroom layout starts with entry. Everything else flows from there.
Think of your bathroom as a sequence. You walk in, you close the door, you approach the toilet, you move to the sink, you access the shower. Each step matters.

Door Width, Swing Direction, and Entry Clearance
Your door is your first barrier. Most standard doors are 32 inches wide. That’s tight for a wheelchair. It’s tight for someone with a walker.
A 36-inch door gives you breathing room. More than that is ideal, but 36 inches is the practical minimum for most accessibility work.
Here’s what trips people up: the swing direction. If your door swings into the bathroom, it eats up your clear floor space.
Consider a pocket door or a barn door if you have the wall space. They slide instead of swing. No wasted floor area.
Toilet Placement and Transfer Space
The toilet is the hardest fixture to access. You need 48 inches of clear space in front of it for a safe transfer.
If you’re standing to use the toilet, that’s one thing. If you’re transferring from a wheelchair or walker, it’s different.
Wall-hung toilets save floor space. They sit higher off the ground, which helps with transfers. They also make cleaning easier, though they cost more to install.
A round-front toilet takes up less depth than an elongated one. In a small bathroom, every inch counts.
Sink Height and Knee Clearance for Seated Users
Most sinks are 30 to 32 inches high. That’s standard. It’s also too high if you’re sitting down.
For seated access, you want the sink at 34 inches.
Knee clearance is the other piece. You need at least 27 inches of space under the sink so you can roll a wheelchair close. That means no pedestal sink.
Wall-mounted sinks give you that clearance. So do sinks on open legs instead of a full vanity.
A handheld showerhead mounted near the sink doubles as a way to rinse your face or wash your hands without standing. Small detail. Big impact.
Roll-In Shower for Small Bathroom: Design and Alternatives
A roll-in shower for small bathroom spaces is one option.
Let me be direct: a shower alone won’t give you what a bathtub can. A shower is vertical.
For people with arthritis, stiff joints, or just the ache of a long day, that difference matters.
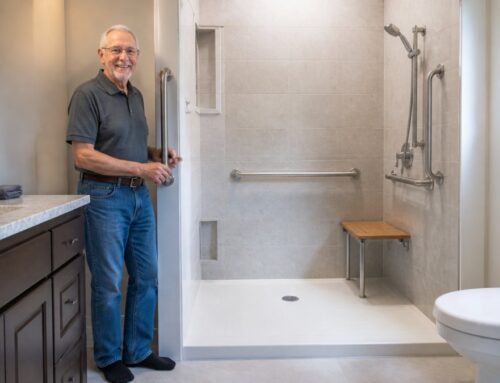
Here’s what a curbless shower needs:
- A sloped floor that drains toward a center drain or perimeter drain
- Waterproofing that actually works (this is where most renovations fail)
- Non-slip flooring that doesn’t look like a hospital
- A grab bar anchored to studs, not drywall
- A seat if you can’t stand for long
Learn how to make a shower wheelchair accessible as a full alternative to other small-bathroom solutions.
A transition tub is the middle ground.
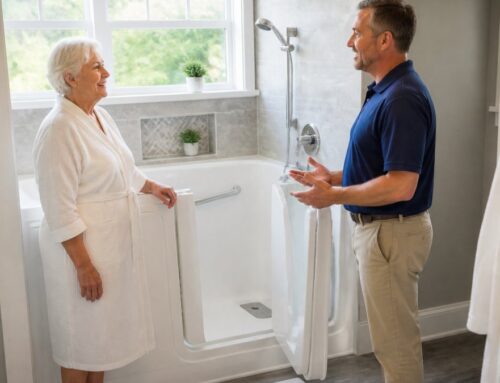
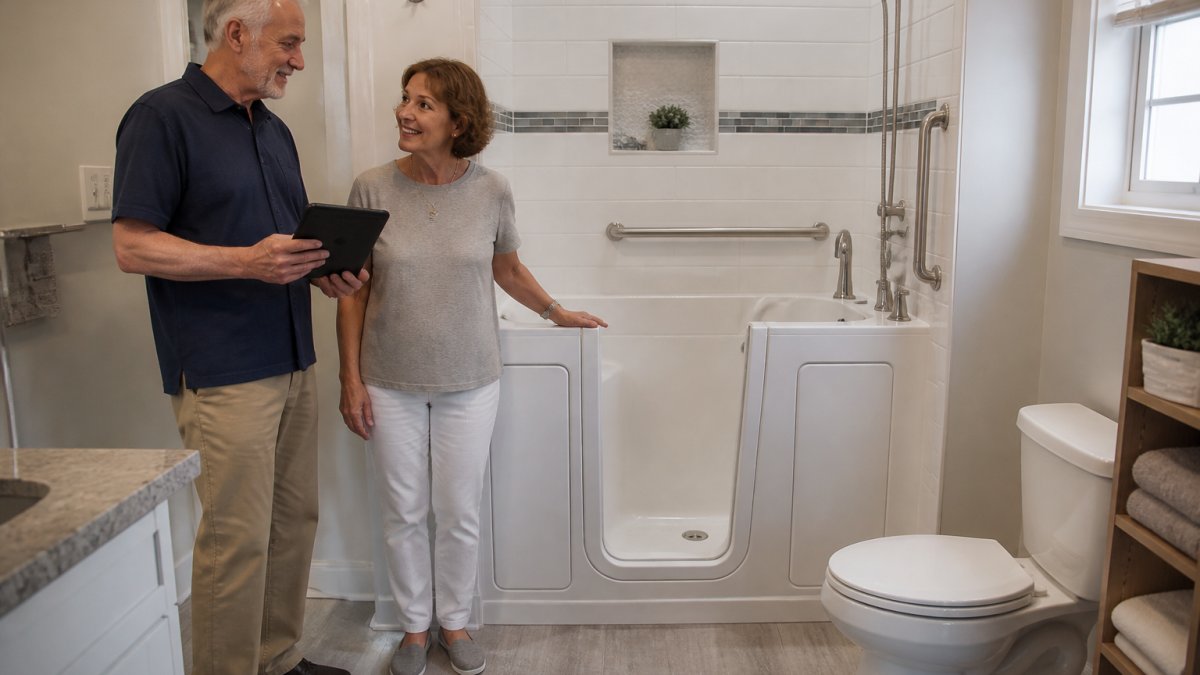
A walk-in tub with a door is another option.
The choice depends on your mobility, your budget, and what you actually do in the bathroom.
Waterproofing a curbless shower in a small space is harder than it looks. If water leaks into the walls, you’ll have rot and mold. This is not a DIY job. Hire someone who has done this before.
Bathroom Grab Bar Placement: Positioning and Wall Reinforcement
Grab bars are not decoration. They’re the difference between a safe bathroom and a dangerous one.
Most people put them wherever they fit. That’s backwards. You put them where you need them.
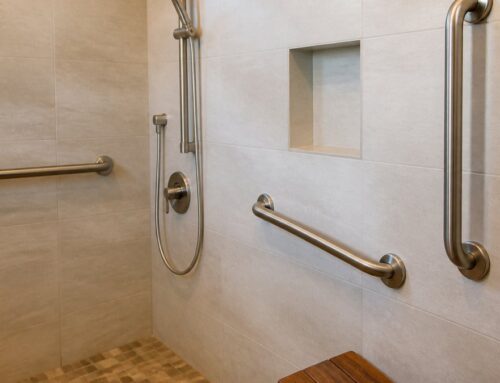
You need grab bars in three places:
- Next to the toilet (vertical bar on the side, horizontal bar behind)
- In the shower or tub (horizontal bar at shoulder height, vertical bar near the entry)
- Near the sink (if you’re at risk of losing balance while standing)
The bars need to be anchored to studs, not drywall. Drywall will rip out under load. You need real support.
Learn ADA-compliant grab bar standards and installation rules for accessible bathrooms.
A 1.25-inch diameter bar is a common standard.
The height matters.
Don’t guess. Measure. Mark the wall. Have someone who knows what they’re doing install it.
Small Bathroom Safety Modifications Without Full Demolition
You don’t have to gut your bathroom to make it safer.
Non-slip flooring is first. Wet tile is a skating rink.
Lighting is next. A dark bathroom is a dangerous bathroom.
Temperature control matters more than people think. A cold bathroom makes you tense. Your muscles tighten.
Ventilation prevents mold and keeps the air fresh.
Accessibility to supplies sounds simple but isn’t. Keep your soap, shampoo, and towels within arm’s reach.
A shower seat is not fancy. It’s essential.
These changes don’t require a contractor. Most of them cost less than a nice dinner.
Start with the changes that matter most to you. If you’re worried about slipping, fix the flooring first. If you’re afraid of the dark, add lighting. One improvement at a time builds confidence.
Simple changes can make a real difference without requiring a full renovation.
| Modification | Purpose | Key Detail |
|---|---|---|
| Non-slip flooring | Prevent slipping on wet surfaces | Matte ceramic, textured vinyl, or rubber-based |
| Lighting | Improve visibility and safety | Add lights above mirror and in shower |
| Temperature control | Reduce muscle tension and improve balance | Heated towel rack, space heater, or heated flooring |
| Ventilation | Prevent mold and keep air fresh | Run exhaust fan during and 20 minutes after shower |
| Accessible supplies | Keep essentials within arm’s reach | Shelf at shoulder height, reachable towel bar |
| Shower seat | Enable safe bathing without standing | Fold-down, sliding, or permanent option |
Universal Design for Different Mobility Needs
Here’s what I’ve learned: accessibility isn’t one-size-fits-all.
Someone in a wheelchair needs different clearances than someone with a walker. Someone with arthritis needs grab bars in different places than someone with balance problems.
Universal design means building in options. A bathroom that works for multiple people, multiple situations, multiple futures.
This means:
- Clear floor space that fits a wheelchair but also works for someone with a walker
- Grab bars that help with balance and with transfers
- A sink height that works for standing and for sitting
- Lighting that’s bright enough for aging eyes but not harsh
- A shower option and a soaking option if space allows
You’re not designing for one moment. You’re designing for a life. Your mobility might change. Your needs might shift. A well-designed bathroom adapts.
The best approach is to talk to someone who understands your specific situation. Not a salesperson. Not a designer who’s never helped someone with your condition.
Universal design is about flexibility. Build in options. What works for you today might not work next year. A bathroom that can adapt is a bathroom that serves you for life.
Call Before You Redesign: Get a Safety Assessment
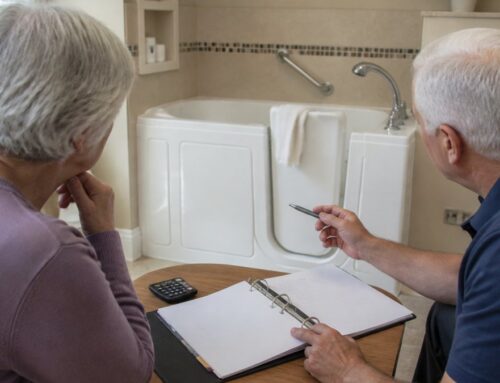
An age-in-place specialist walks through your bathroom with you. They ask questions. They watch how you move.
A good assessment answers these questions:
- What’s your actual risk of falling?
- Which fixtures are hardest for you to use?
- What changes would make the biggest difference?
- What can you do now without a full renovation?
- What might you need in the future?
This is not a sales call. This is an honest conversation about your bathroom, your mobility, and your goals.
At Bentley Baths, we offer a free safety assessment by age-in-place specialists. We also offer a free Safe Bathing Course to help you understand how to use your bathroom safely, whether you’re planning changes or just want to reduce your risk right now.
Your bathroom doesn’t have to be perfect. It has to be safe. It has to work for you.
Start with a conversation. Call us at 800-688-0055 or visit BentleyBaths.com to schedule your evaluation.
Because the best time to think about bathroom safety is before you need it.
Because it does.
Frequently Asked Questions
How do you make a small bathroom accessible without a complete remodel?
Start with grab bars, non-slip flooring, and adjustable showerheads. Swap the toilet for a compact round-front model if space is tight. Raise the sink or install a pedestal model with knee clearance. These modifications cost less than a full renovation and address the biggest fall risks. A free safety assessment can identify which changes matter most for your specific mobility needs.
Can a roll-in shower work in a small bathroom?
Yes, but it requires careful planning. A roll-in shower for small bathrooms needs at least 36 inches of clear floor space and a curbless entry. Some homeowners combine a compact toilet, wall-mounted sink, and a corner roll-in shower to maximize usable space. The real constraint is often plumbing and drainage. Talk to a specialist before committing to layout changes.
Where should grab bars go in a small bathroom?
Install bathroom grab bars at the toilet (one on each side, often recommended at 33-36 inches high), along the shower or tub wall (horizontal bars often recommended at 33-36 inches, vertical bars near entry), and near the sink if balance is an issue. Bars must be anchored to wall studs or reinforced blocking behind the wall. Placement depends on how you transfer and move. A professional assessment ensures bars go where you actually need them.
What is the best accessible bathroom layout for a wheelchair user in a small home?
Prioritize a 60-inch turning radius in the main floor space, a 36-inch-wide door with inward swing, and a roll-in or walk-in shower. Position the toilet with 18-24 inches of clear space on at least one side for transfer. Mount the sink at a height that allows for knee clearance underneath, often around 34 inches high. In very small bathrooms, you may need to choose between a full shower and a soaking tub. Universal design principles let you accommodate multiple mobility needs in limited square footage.